Ok I got it. Easier then I thought it was just coming at it with fresh eyes.
So first I generated a Self-Signed Certificate (Locally on PC) using this cmdlet
New-SelfSignedCertificate -CertStoreLocation Cert:\LocalMachine\My -DnsName “ud.domain.com” -FriendlyName “ud.domain.com” -NotAfter (Get-Date).AddYears(1)
the DNS name will obviously need to exist this is where your reply_url will come from during Azure AD Auth.
Next export the Certificate from your local PC Certificate Store into a PFX. Make sure you click to export the private key during the export. you will also need to set a password which will be used by UD to import/use the certificate.
Once you have the certtificate.pfx add this to your Start-UDDashboard
-CertificateFile ‘/path/certtificate.pfx’ -CertificateFilePassword (ConvertTo-SecureString “pfxpassword” -AsPlainText -Force)
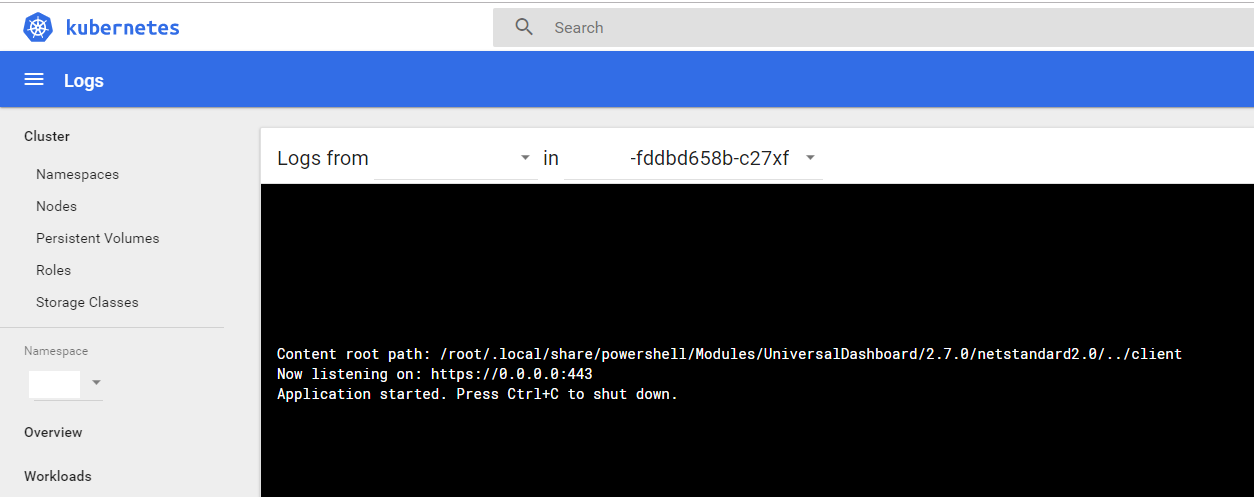
This will start your Dashboard using the pfx certificate. Once you start your Dashboard (would test locally) you will see that the Dashboard was started on port 443

Also make sure that the Service Principal in Azure that is being used for the UD Auth has the URL you used during your certificate creation.

I offically have this now working with Azure AD Auhentication running in a Docker Container.